
24 Apr How to prepare a floor for vinyl flooring
Vinyl flooring is an excellent choice for homeowners and businesses alike. It is durable, easy to maintain, and comes in a wide range of styles and colours. However, to ensure that your vinyl flooring is installed correctly and lasts as long as possible, it is essential to prepare your floor properly before installation. In this article, we will provide you with some tips and advice on how to prepare a floor ready for fitting vinyl flooring, whether you are a domestic homeowner or the owner of commercial premises.
Assess the floor
Before you start preparing your floor, it is crucial to assess its condition. Check for any damage or cracks that could affect the installation of the vinyl flooring. If there are any significant issues, you may need to get a professional to fix them before you can proceed with the installation.
Clean the floor
The next step is to clean the floor thoroughly. You want to ensure that there is no dust, dirt or debris left on the surface of the floor. For domestic homeowners, a simple sweep and mop will usually suffice. For commercial environments, it may be necessary to use a more heavy-duty cleaning solution to remove any stubborn dirt or stains.
Remove old flooring
If you are replacing old flooring with vinyl flooring, you will need to remove it first. This can be a time-consuming process, but it is essential to ensure that the new vinyl flooring is installed correctly. For domestic homeowners, removing old flooring is usually a straightforward process. You can use a scraper or a floor stripper to remove any adhesive or residue left behind. For commercial environments, it may be necessary to use professional equipment to remove the old flooring.
Smooth the surface
Before you can install vinyl flooring, the surface of the floor needs to be smooth and even. If there are any bumps or lumps in the surface of the floor, it can cause the vinyl flooring to warp or bubble. To ensure that the surface of the floor is smooth and even, you may need to use a levelling compound. This compound is easy to apply and will fill in any gaps or dips in the surface of the floor.
Allow the floor to dry
Once you have cleaned the floor, removed old flooring, and smoothed the surface, it is essential to allow the floor to dry fully before installing the vinyl flooring. For domestic homeowners, this can take up to 24 hours, depending on the humidity and temperature of the room. For commercial environments, it may be necessary to use dehumidifiers or fans to speed up the drying process.
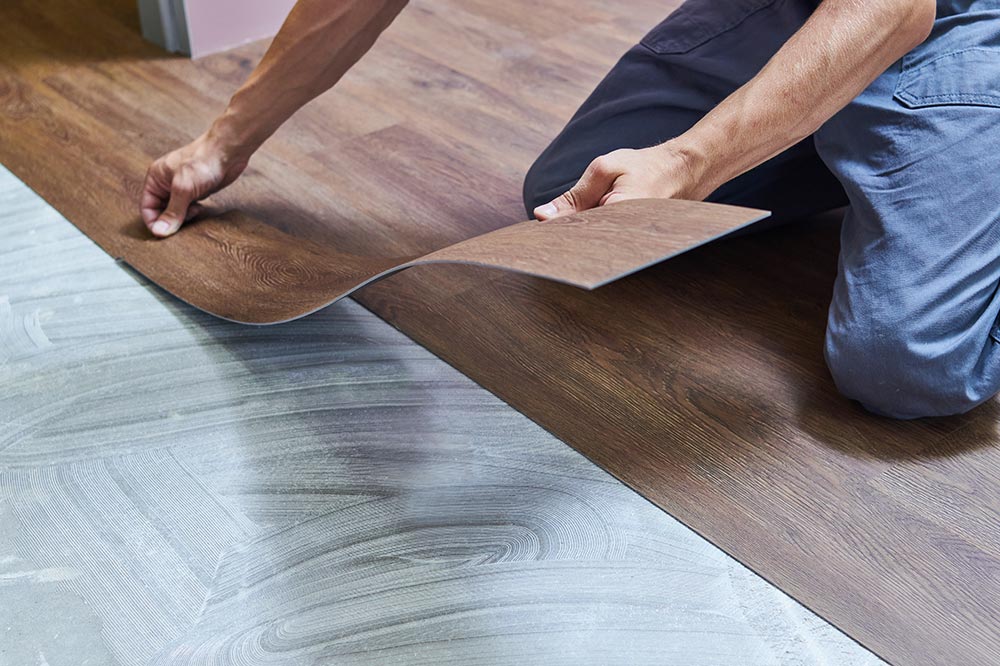
Install the vinyl flooring
Once the floor is completely dry, you can start installing the vinyl flooring. It is important to read the manufacturer’s instructions carefully before beginning the installation process. Make sure that you have all the necessary tools and materials before starting. For domestic homeowners, installing vinyl flooring is usually a straightforward process. However, for commercial environments, it may be necessary to use professional equipment to ensure that the vinyl flooring is installed correctly.
Make the finishing touches
Once the vinyl flooring is installed, it is important to take care of it to ensure that it lasts as long as possible. For domestic homeowners, this may mean using a protective coating to prevent scratches and scuffs. For commercial environments, it may be necessary to use a more heavy-duty coating to withstand the wear and tear of everyday use.
Preparing for vinyl flooring – The key points
Preparing a floor for vinyl flooring installation can be a time-consuming process, but it is essential to ensure that the flooring is installed correctly and lasts as long as possible. Whether you are a domestic homeowner or a commercial environment, it is crucial to assess the condition of the floor, clean it thoroughly, remove old flooring, smooth the surface, allow the floor to dry completely, and install the vinyl flooring according to the manufacturer’s instructions.
April 24, 2023


